
Why Home Composting Matters
Home composting turns kitchen and yard waste into a valuable soil amendment. It reduces household waste, saves money, and improves garden health.
For beginners, composting may seem technical, but basic systems are simple and forgiving. This guide explains practical steps to start and maintain a compost pile at home.
Choosing a Compost System

Pick a system that fits your space and time. Options include a simple pile, a bin, a tumbler, or a worm composting setup for small indoor spaces.
Consider these factors when choosing:
- Available space and sunlight
- Amount and type of waste you produce
- How much time you want to spend turning or maintaining the pile
Basic System Recommendations
For most beginners a lidded bin or a simple open pile works well outdoors. Tumblers speed up decomposition and reduce pests.

Worm bins (vermicomposting) are ideal for apartment dwellers and handle mostly kitchen scraps without odor when managed properly.
What to Compost: Browns and Greens
Compost needs a balance of carbon rich materials (browns) and nitrogen rich materials (greens). The right balance speeds decomposition and reduces odor.
Common materials to use:
- Browns: Dry leaves, shredded paper, cardboard, straw
- Greens: Vegetable scraps, coffee grounds, fresh grass clippings

A rough target ratio is about 3 parts browns to 1 part greens by volume. Adjust if the pile smells or is too dry.
How to Start a Compost Pile
Follow these simple steps to create a balanced compost pile that breaks down efficiently.
- Choose a dry, partially shaded spot near a water source.
- Start with a 4–6 inch layer of coarse browns for airflow.
- Add alternating layers of greens and browns, keeping pieces small to speed breakdown.
- Moisten each layer so it is damp but not soggy.
- Cover the pile to retain heat and moisture, using a lid or tarp.
Turning and Aeration
Regular aeration adds oxygen that microbes need to decompose material. Turn a bin or pile every 1–2 weeks for faster compost.
If using a tumbler, rotate it a few times per week. For a static pile, use a pitchfork to move material from outside to the center.
Microorganisms in compost can raise temperatures to 130°F (54°C), killing weed seeds and pathogens when the pile is managed correctly.
Troubleshooting Common Problems
Compost issues are usually easy to fix by adjusting moisture, aeration, or the brown/green mix. Below are common problems and solutions.
- Bad smell: Add more browns and turn the pile to introduce air.
- Too dry: Water the pile gently and add more greens.
- Slow breakdown: Chop materials smaller and increase turning frequency.
- Pests: Avoid adding meat, dairy, or oily foods. Bury kitchen scraps in the middle of the pile.
When Is Compost Ready?
Finished compost is dark, crumbly, and smells earthy. Depending on methods and conditions, it can take 2–12 months to fully mature.
Use finished compost as a soil amendment, top dressing, or ingredient in potting mixes. Avoid using unfinished compost directly on seedlings as it may tie up nitrogen.
Practical Uses and Application Rates
Mix 1–3 inches of compost into garden beds before planting to improve structure and water retention. For potted plants, replace 10–30% of potting mix with compost.
Compost can also be brewed as a weak “compost tea” for plants by steeping compost in water and using the liquid to water plants.
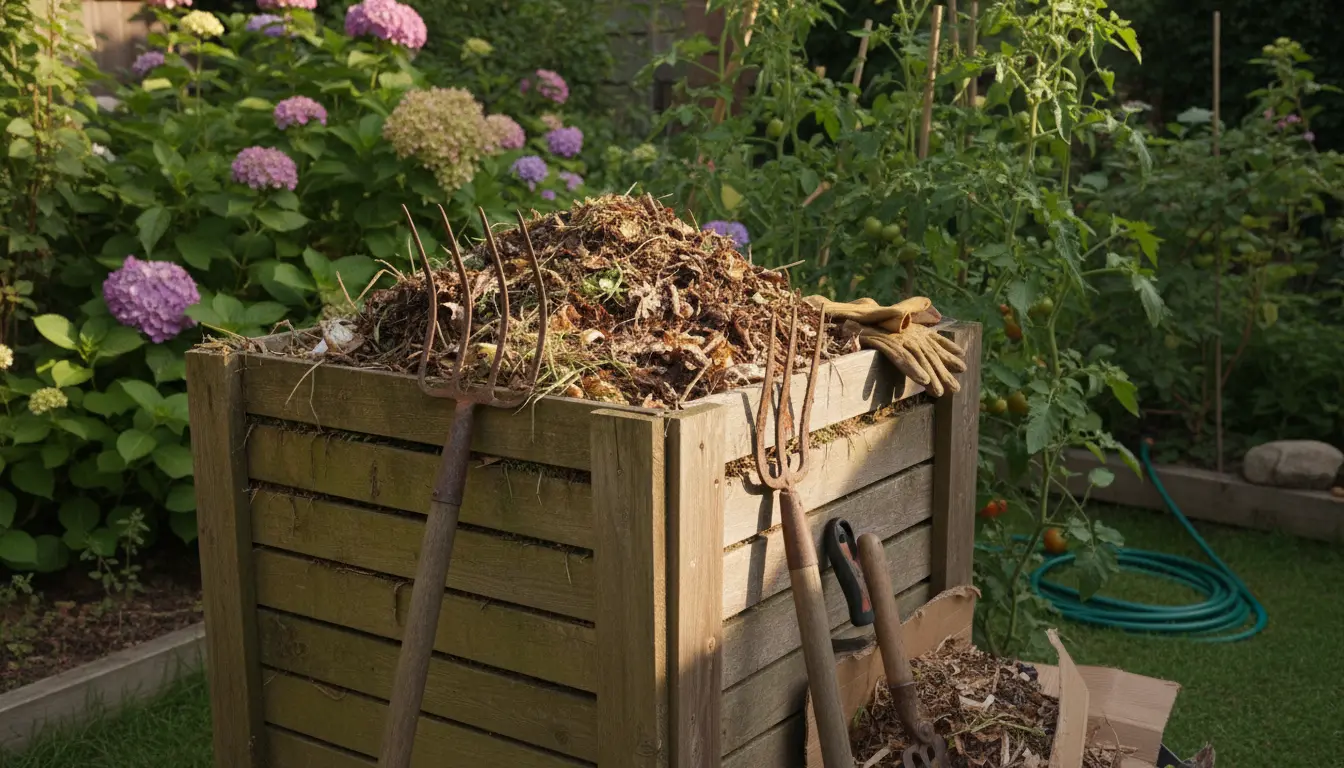
Simple Tools and Materials You Need
Starting compost requires only a few inexpensive items. Additional tools make maintenance easier but are not essential.
- Compost bin or space for a pile
- Pitchfork or compost turning tool
- Optional tumbler or worm bin for small spaces
- Kitchen bucket for scraps with a lid
Short Case Study: Neighborhood Starter Bin
In one suburban neighborhood, five households shared a 55-gallon bin and a rotation schedule. Each household contributed scraps weekly and rotated the bin every two weeks.
After four months, they produced rich compost used to improve a community flower bed. The shared system reduced individual effort and eliminated weekly food waste from curbside trash.
Quick Checklist to Begin Today
- Choose a bin or spot for a pile.
- Collect a small container for kitchen scraps.
- Start layering browns and greens, keep it damp and aerated.
- Turn the pile regularly and monitor moisture and smell.
Home composting is a straightforward way to reduce waste and make better soil. Begin with small, manageable steps and learn by doing—most beginners succeed within a few months.