
Getting Started with Home Composting
Home composting is a straightforward way to turn kitchen scraps and yard waste into nutrient-rich soil. This guide covers essential home composting basics so you can start with minimal tools and reliable methods.
Choose the Right System for Home Composting
Selecting a bin or method depends on space, how much waste you generate, and how hands-on you want to be. Common options include a simple heap, a tumbling bin, a stationary plastic bin, or a worm (vermicompost) box.
Small-space options

For apartments or limited outdoor areas, vermicomposting and bokashi systems are compact and fast. Worm bins fit under counters or on a balcony and process food scraps quickly.
Backyard options
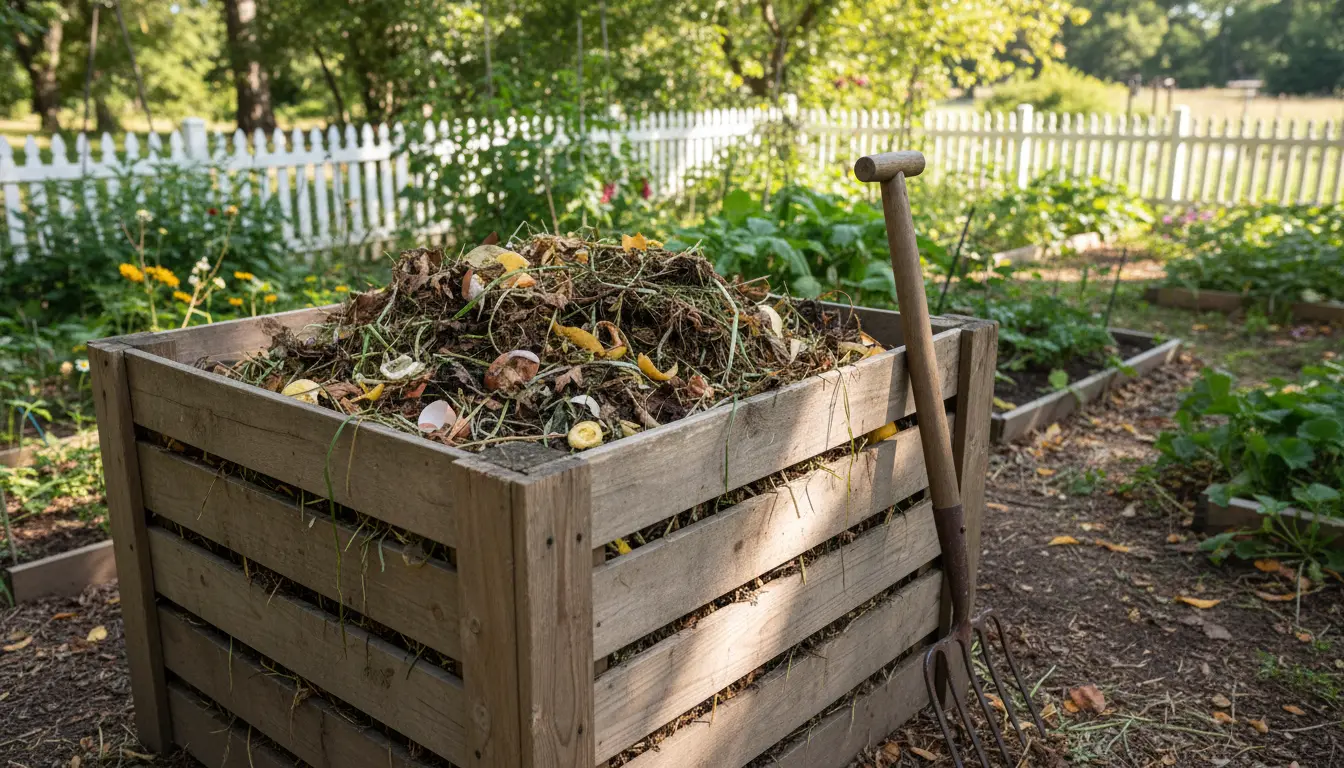
In a yard, a tumbling composter or a three-bin system gives faster results and easier turning. Choose a bin with good ventilation and drainage to avoid excess moisture.
Balance Materials: Browns and Greens
Effective decomposition depends on balancing carbon-rich “browns” and nitrogen-rich “greens.” Aim for a mix that allows microbes to work efficiently without creating odors.
- Greens (nitrogen): fruit and vegetable scraps, coffee grounds, fresh grass clippings.
- Browns (carbon): dry leaves, shredded paper, cardboard, straw, wood chips.

A practical rule is about 1 part greens to 3 parts browns by volume. If your compost smells, add more browns. If decomposition stalls, add greens and moisture.
Layering, Moisture, and Aeration
Start with a coarse layer (twigs or straw) at the bottom for drainage. Alternate layers of greens and browns in 2–4 inch layers to mix materials well.
Moisture
Compost should feel like a wrung-out sponge: moist but not dripping. Add water during dry spells or when materials are very dry. Cover the pile if heavy rain so it does not become waterlogged.
Aeration

Turn your pile every 1–2 weeks to introduce oxygen and speed decomposition. For tumblers, rotate per manufacturer instructions. Lack of air causes anaerobic conditions and bad smells.
What You Should and Shouldn’t Compost
Knowing what to include helps keep pests away and prevents slow decomposition. Use this quick checklist for home composting basics.
- Compost: fruit and vegetable scraps, eggshells, coffee grounds, tea bags (without staples), yard trimmings, shredded paper.
- Do not compost: meat, dairy, oily foods, diseased plants, pet waste, and large woody branches unless shredded and aged.
Troubleshooting Common Problems
Problems usually come down to balance, moisture, and aeration. Address these issues with targeted fixes rooted in the home composting basics.
- Bad odor: Add dry browns, turn the pile, and check moisture.
- Slow decomposition: Chop materials smaller, increase greens slightly, and keep pile moist.
- Pests: Bury food scraps within the pile, use a closed bin, or try a bokashi pre-treatment.
Speeding Up Composting: Tips
To accelerate breakdown, shred or chop materials before adding them, maintain the right moisture, and turn regularly. A hot composting approach with larger piles can finish in weeks instead of months.
- Use a thermometer if aiming for hot composting; target 130–150°F (54–66°C) for active decomposition.
- Add finished compost or garden soil to introduce helpful microbes.
Vermicomposting as a Home Composting Option
Worm composting uses red worms to convert scraps into rich castings. It’s odor-free if managed correctly and produces liquid worm tea that is a useful fertilizer.
- Keep bedding (shredded paper) moist and feed worms a balanced diet of greens and small amounts of paper.
- Harvest castings every 2–4 months depending on the size of your bin and worm population.
Compost can reduce household waste by 20–30 percent and returns nutrients to your garden, improving soil structure and water retention.
Small Real-World Case Study
Case study: A family of four started a 50-gallon tumbling composter in their backyard. They collected kitchen scraps in a counter caddy and added yard leaves as browns. By shredding large items and turning the tumbler weekly, they produced usable compost in about four months.
They used finished compost in vegetable beds and potted plants, which improved plant vigor and reduced fertilizer use. Troubles with occasional odor were solved by adding dry leaves and turning the bin more frequently.
Practical Checklist to Start Home Composting Today
Use this short checklist to begin your composting practice with confidence.
- Choose a compost system that fits your space (bin, tumbler, worms, bokashi).
- Gather basic tools: pitchfork or turning tool, kitchen caddy, and a thermometer (optional).
- Start layering greens and browns; maintain moisture and aeration.
- Monitor and troubleshoot using the simple fixes above.
- Harvest finished compost when it is dark, crumbly, and smells earthy.
Final Notes on Home Composting Basics
Home composting is adaptable and forgiving; small adjustments fix most problems. Start small, learn your system, and scale up as you gain confidence.
With consistent practice, your household can cut waste, save money on soil amendments, and support healthier plants through natural compost.