
Composting at home is a practical way to reduce waste and create nutrient-rich soil. This guide walks you through simple methods, materials, and maintenance so you can start composting with confidence.
Why Home Composting Matters
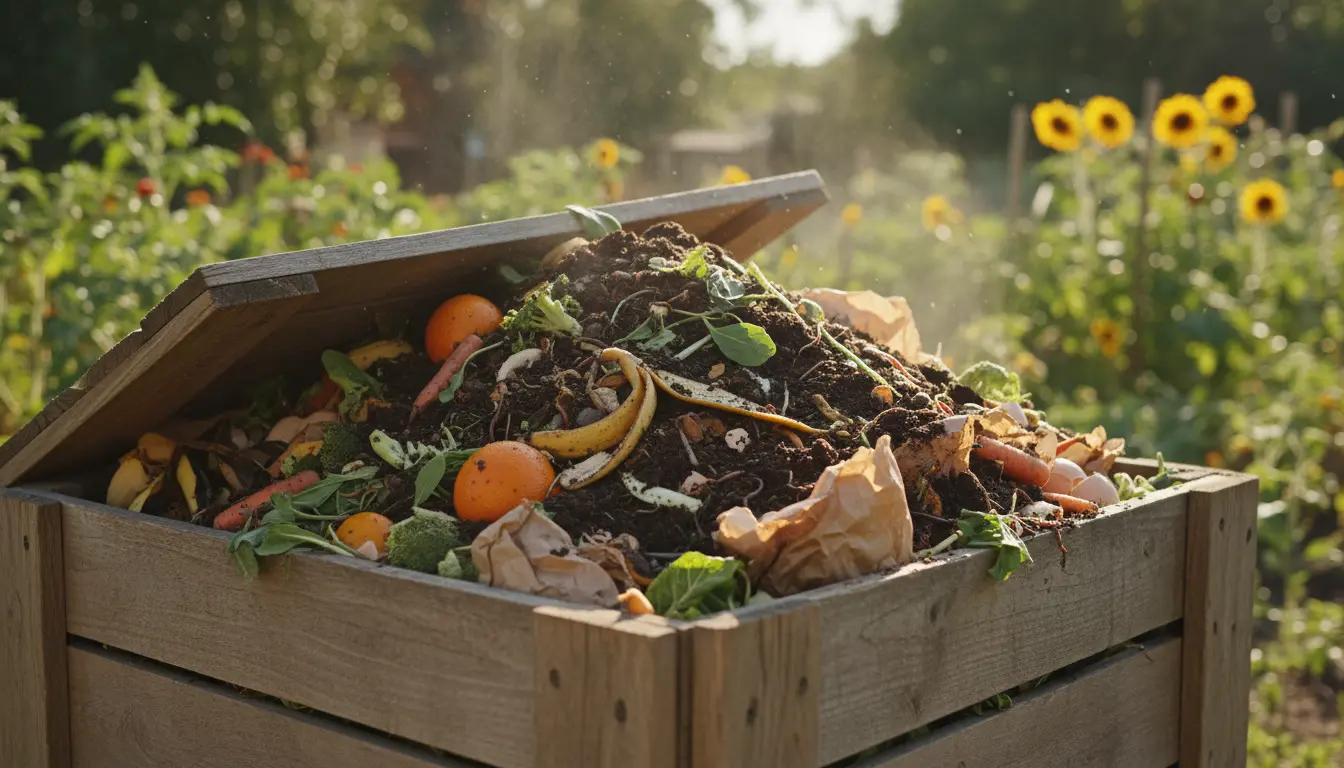
Home composting closes the loop on organic waste by returning nutrients to the soil. It reduces the volume of trash and can improve garden health without chemical fertilizers.

Knowing the basics of home composting helps you choose an approach that fits your living situation and available time.
Benefits of Home Composting
- Reduces household waste and landfill contributions.
- Produces free, nutrient-rich compost for plants and lawns.
- Improves soil structure, moisture retention, and aeration.
- Can lower gardening costs and reduce fertilizer use.
Choosing a Composting Method
There are several home composting methods to suit different spaces and schedules. Choose one based on how much waste you produce and how hands-on you want to be.
Common Home Composting Methods
- Cold pile: Simple pile or bin. Add materials and wait months for breakdown. Low effort.
- Hot composting: Active management with higher temperature, faster breakdown (weeks to months). Requires turning and monitoring.
- Vermicomposting: Uses worms in a bin to convert food scraps into rich castings. Good for small spaces and apartments.
- Bokashi: Fermentation method for all kitchen waste, including meat, followed by burying or adding to compost. Fast and indoor-friendly.
How to Start Home Composting
Follow these steps to set up a basic compost system in your yard or on your balcony. Each step focuses on practicality and easy implementation for beginners.
1. Pick a Location and Container

Choose a shaded, level spot near water access if possible. For small yards, use a lidded bin or tumblers. For apartments, consider a compact worm bin or bokashi bucket.
2. Gather Materials: Browns and Greens
Successful home composting depends on balancing carbon-rich ‘browns’ and nitrogen-rich ‘greens’. Aim for a rough 3:1 ratio of browns to greens by volume.
- Browns: dry leaves, straw, shredded paper, cardboard.
- Greens: vegetable scraps, coffee grounds, fresh grass clippings.
3. Build Your Pile or Bin
Start with a layer of coarse browns to help airflow. Alternate layers of greens and browns, keeping particles small for faster decomposition. Keep the pile moist like a wrung-out sponge.
4. Maintain and Monitor

Turn a hot pile every 3–7 days to introduce oxygen. For cold piles, turning less often is fine. Use a compost thermometer for hot systems; target 131–160°F (55–71°C) for pathogen-safe hot composting.
Vermicompost and bokashi have different maintenance: feed worms small amounts regularly and harvest castings; drain bokashi liquid and bury fermented material after processing.
Maintaining Your Home Composting System
Regular, simple checks will prevent common issues. Monitor moisture, odor, and temperature to keep decomposition on track.
Quick Maintenance Checklist
- Moisture: If dry, add water and greens. If soggy, add more browns and turn for aeration.
- Smell: A healthy pile smells earthy. A strong foul odor means too much wet or green material—add browns and turn.
- Pests: Use a closed bin, bury food scraps, or balance materials to discourage pests.
- Temperature: For hot composting, aim for high heat to speed breakdown and kill seeds or pathogens.
A one-cubic-yard compost pile can convert 400–600 pounds of organic waste into rich compost in about six months if managed properly.
Common Problems and Fixes for Home Composting
Anticipate issues and use simple fixes to keep your system healthy. Most problems are solved by adjusting moisture, balance, or aeration.
Troubleshooting Guide
- Slow decomposition: Chop materials smaller and increase turning or add nitrogen-rich greens.
- Bad smell: Add dry browns, improve aeration, and avoid adding cooked oils or large amounts of meat.
- Flies or pests: Bury fresh food under browns and use a closed container if needed.
Small Case Study: Apartment Balcony Vermicomposting
Sarah, a city resident, started a worm bin on her balcony using a plastic tote and red wiggler worms. She fed the bin kitchen scraps and shredded newspaper.
Within three months she harvested dark, crumbly worm castings and reduced her weekly trash by half. The castings boosted her container plants, and maintenance was 10–15 minutes per week.
Final Tips for Successful Home Composting
- Start small and scale up as you learn how materials behave.
- Keep materials varied and well-shredded to speed composting.
- Record what you add and how often you turn to refine your process.
Home composting is a low-cost, high-impact habit that benefits your garden and the environment. With a little routine care, nearly anyone can convert kitchen and yard waste into valuable compost.